

How To Repair A Delta Sprayer
Kitchen faucets with pull-out sprays are highly versatile, offering a whole extra level of flexibility for washing, rinsing or any other task you need to do. However, as with anything with extra moving parts, they are also more susceptible to wear and tear than regular faucets.
If you are weighing up the pros and cons of installing one of these faucets or you are looking for solutions to repair one that's already broken, here we look at some common pull-out spray kitchen faucet problems as well as one or two possible solutions where they exist.
Here's a good video that will give you an idea of some of the things we're going to be talking about.
Some of the most common problems
Now let's look at some of the most common problems you are likely to encounter if you own a pull-out kitchen faucet or kitchen faucet with pull out spray.
1. Hose does not retract properly
One of the most common issues with a pull-out kitchen faucet spray is that with use, the hose stops retracting properly, and to return it to its proper position, you have to push it back in manually, which is much less practical than if it just retracts automatically.
Hoses normally have a weight attached to them which causes them to retract due to gravity. Check that the weight hasn't fallen off. Another possibility is that the old hose is sticking to the side of the faucet. In this case, replacing the hose might solve the problem.
2. Low water pressure
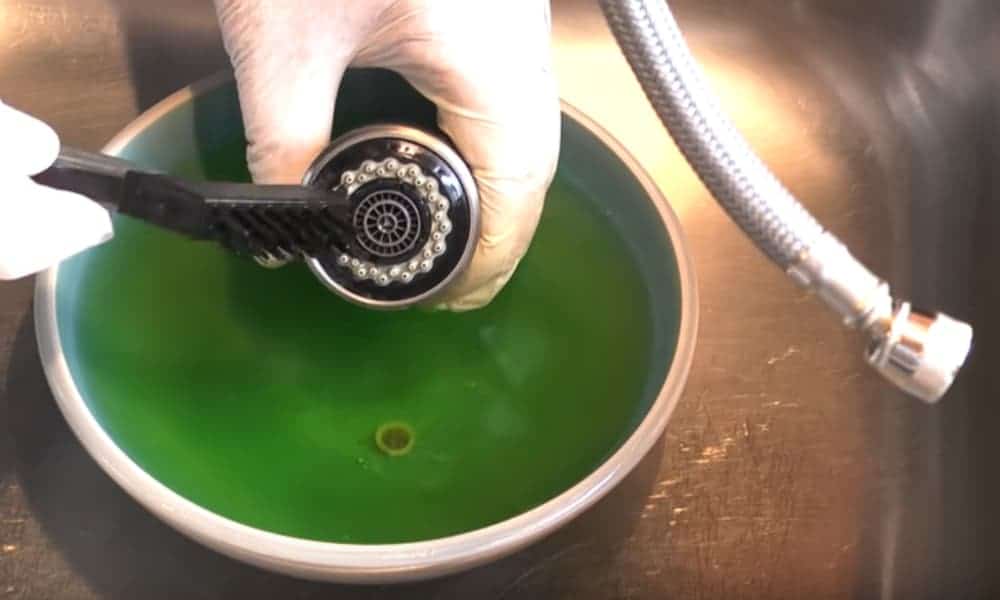
This is most likely to be due to a build-up of mineral deposit in the faucet head's aerator. Note that this is not a problem limited to pull-out faucet sprays and can be found in commercial kitchen faucets, or touchless kitchen faucets and just about any other kind that exists.
This problem is also more common in hard water areas.
The solution is simple. You can remove the aerator and clean it with a toothbrush or something similar. If the build-up is more severe, try boiling the aerator in vinegar for half an hour. Another option is to clear the aerator manually with a pin.
3. Doesn't sit snugly in the cradle

With daily use and wear and tear, eventually, you may find that the spray head doesn't fit as snugly as it once did in the cradle.
With cheaper models, this is probably something you will have to accept, and when it happens, it might be time to think about buying a replacement.
However, more advanced models incorporate cradles that are designed to minimize this possibility, extending the life of the faucet.
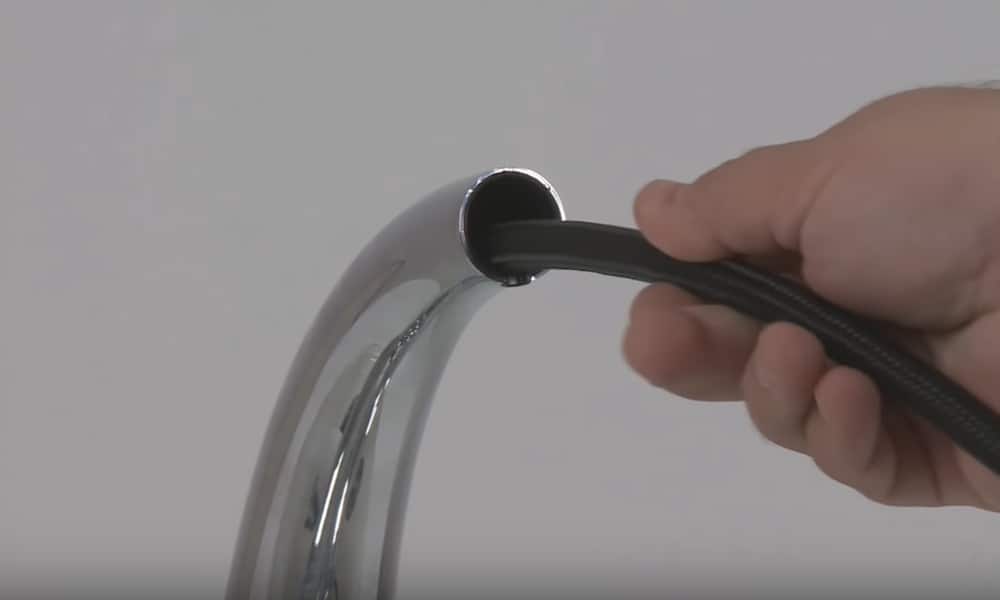
4. Leaky pull-out hose
Most leaks that develop in pull-out faucets occur in the connections at either end of the hose. When this happens, rather than replace the whole faucet, you only need to replace the hose itself.
For a preview of how to do it, check out this video that shows you how to remove the hose from the faucet.
The first step is to turn off the water valves under the sink. Once this is done, look for the weight on the hose beneath the sink. If the weight is screwed on, unscrew it and remove it. If it is plastic, leave it where it is for the moment.
Find the connection where the hose is attached to the water supply and disconnect it. There are several different styles – if you are unsure about how to disconnect the hose, the video above explains this aspect very clearly.
Once you have disconnected the hose, if you have a plastic weight on your hose, you can now slide it off.
Next, pull the hose out through the faucet spout above and then feed the new hose back down the faucet spout in the same way.
Go back under the sink and slide the plastic weight back onto the hose if necessary. Attach the hose to the water supply in the same way as you removed the old one. If you have a screw-on weight, screw it back on now.
Finally, turn the water supply back on and test the new hose, checking for leaks.
5. Leaking spray head
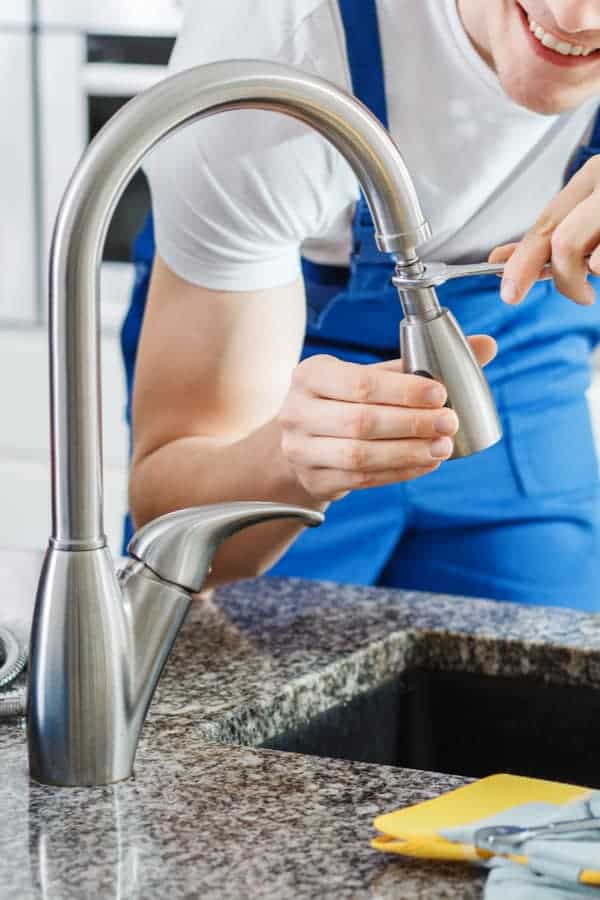
Sometimes, with a sprayer on a hose, the problem will be with the spray head rather than with the hose. In this case, you will need to replace the spray head. Here's how to do it.
Start by turning off the water valves beneath the sink.
Next, unscrew the spray head, remove the washer and remove the C-clip.
To attach the new spray head, simply reattach the C-clip, attach the washer and then screw the spray head onto the hose connection.
6. Clogged diverter valve

The diverter valve is the part that directs the water from the main faucet to the sprayer when you activate it. With time, this part can become dirty or clogged, leading to lower water pressure or other issues.
To check this problem, remove the sprayer head and turn on the water. A weak flow from the hose indicates that the diverter is to blame.
If your sprayer produces a pulsating spray or water continues to come out of the main spout while you are using the sprayer, a faulty diverter is also probably the cause.
In either of these cases, the best course of action is to completely replace the diverter. Since there are many different styles, you will need to find the faucet's user manual or search for instructions online. If you can't find the information, you may need to call in a professional.
7. Sticking water handle
If the handle starts sticking when you try to use it, it is probably dirty and clogged. To resolve this problem, simply give it a good clean to remove any dirt and grime that has accumulated inside. Once clean, the problem should disappear.
Several possible issues, most easy to fix
With time, kitchen faucets with pull-out spray wands can develop several different problems. However, many of them are easy to fix, and you shouldn't necessarily have to replace the whole faucet right away.
If your faucet starts giving you trouble, check through our list first to see if there are any quick fixes that might save you a bit of cash before you rush down to the store to buy a whole new faucet.
How To Repair A Delta Sprayer
Source: https://www.sunrisespecialty.com/pull-out-spray-kitchen-faucet-problems
Posted by: simpsonmucas1966.blogspot.com
0 Response to "How To Repair A Delta Sprayer"
Post a Comment